Setup and Config Sync
Before you write any game code, you need to point your project at a backend app.
This page walks through that first step:
- Sign in to Crowdy Studio.
- Pick an organization and app.
- Choose a backend.
- Run Config Sync to write the connection settings into your project.
If you skip this step, the SDK has no AppID or game API URLs to connect with, and nothing replicates.
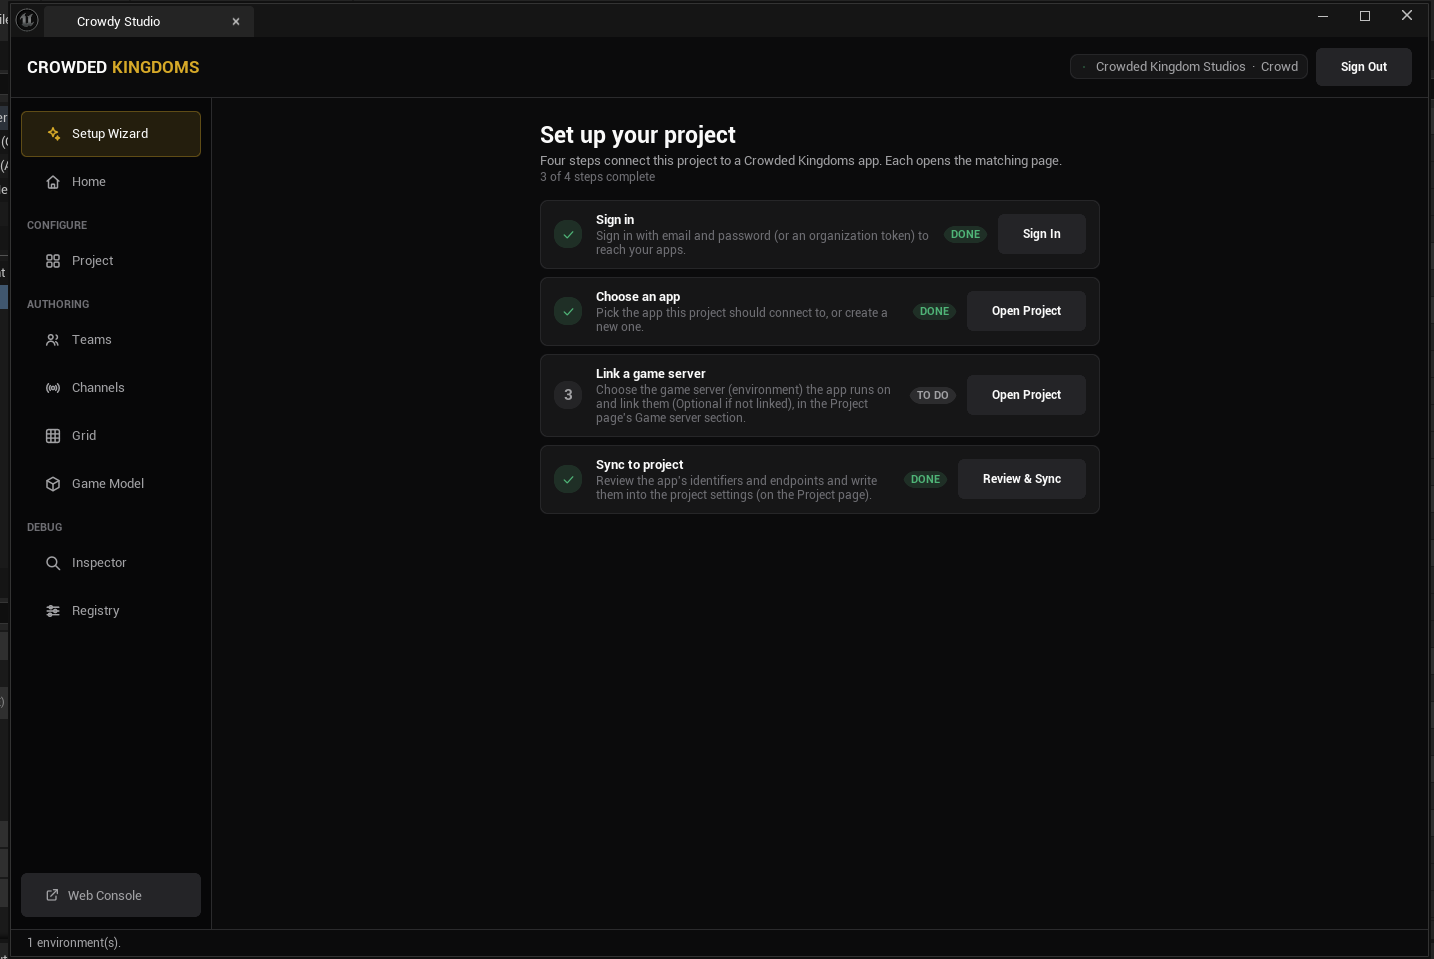
Open Crowdy Studio
Open the editor management plane from one of:
- Tools, Crowdy SDK, Crowdy Studio
- The Crowded Kingdoms toolbar button
Crowdy Studio is a dockable editor tab, so you can leave it open while you work.
Sign in
Sign in on the Home page. You have two options:
- Account sign-in (password, magic link, dev sign-in, or social provider). Crowded Kingdoms provides you with various sign-in options. This gives you full authoring access, including game-plane authoring such as Teams and Channels. See Sign in (passwordless).
- Organization token. This gives you management-only access. Token sign-in cannot do game-plane authoring.
For first-time setup, sign in with your account.
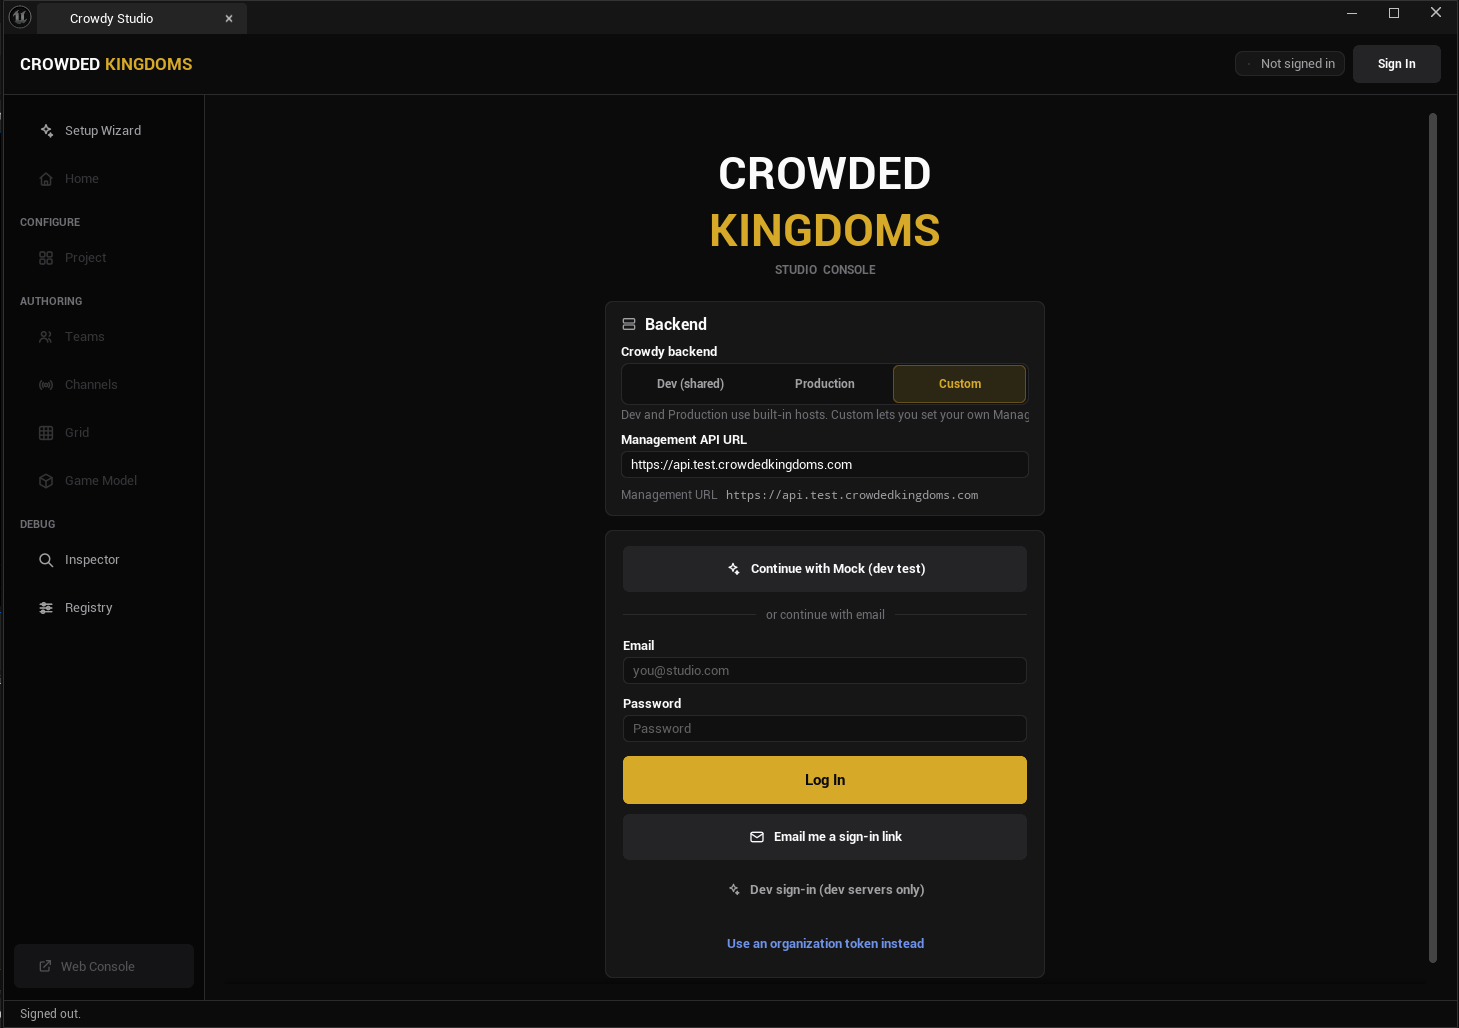
If you only need to sync config on a machine that should not hold authoring credentials, an organization token is enough to select an app and run Config Sync.
Pick an organization and app
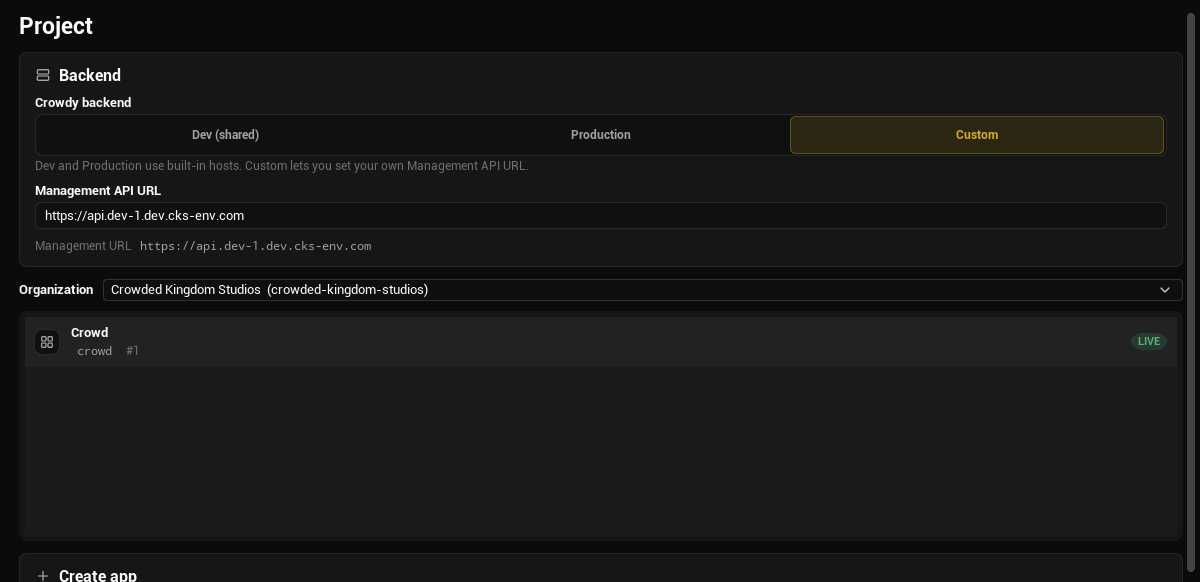
Go to the Project page. This is where you select the app your project will connect to.
- Choose your organization.
- Choose an app within that organization.
The app you select determines the AppID, OrgId, and game API URLs that Config Sync will write.
Run Config Sync
Config Sync writes the selected app's settings into your project's settings. It writes:
- AppID
- OrgId
- The game API URLs for the chosen backend
Before it writes anything, Config Sync shows a before-and-after diff:
- The left side is what your project settings hold now.
- The right side is what they will hold after the sync.
Read the diff so you know exactly what changes. When the diff looks right, press Sync to Project. This applies the new values to your project settings.
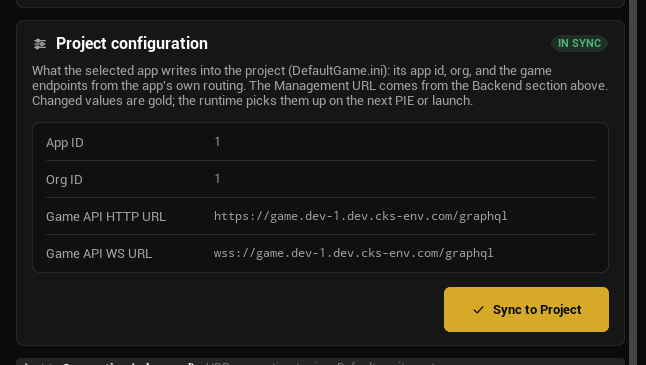
Config Sync applies to a running Play in Editor session without a restart. You do not need to stop PIE, sync, and relaunch. The new app settings take effect in the active session.
The values land in the developer settings section:
[/Script/CrowdyReplication.CrowdySDKDeveloperSettings]
You can confirm them later in Project Settings, Plugins, Crowdy SDK.
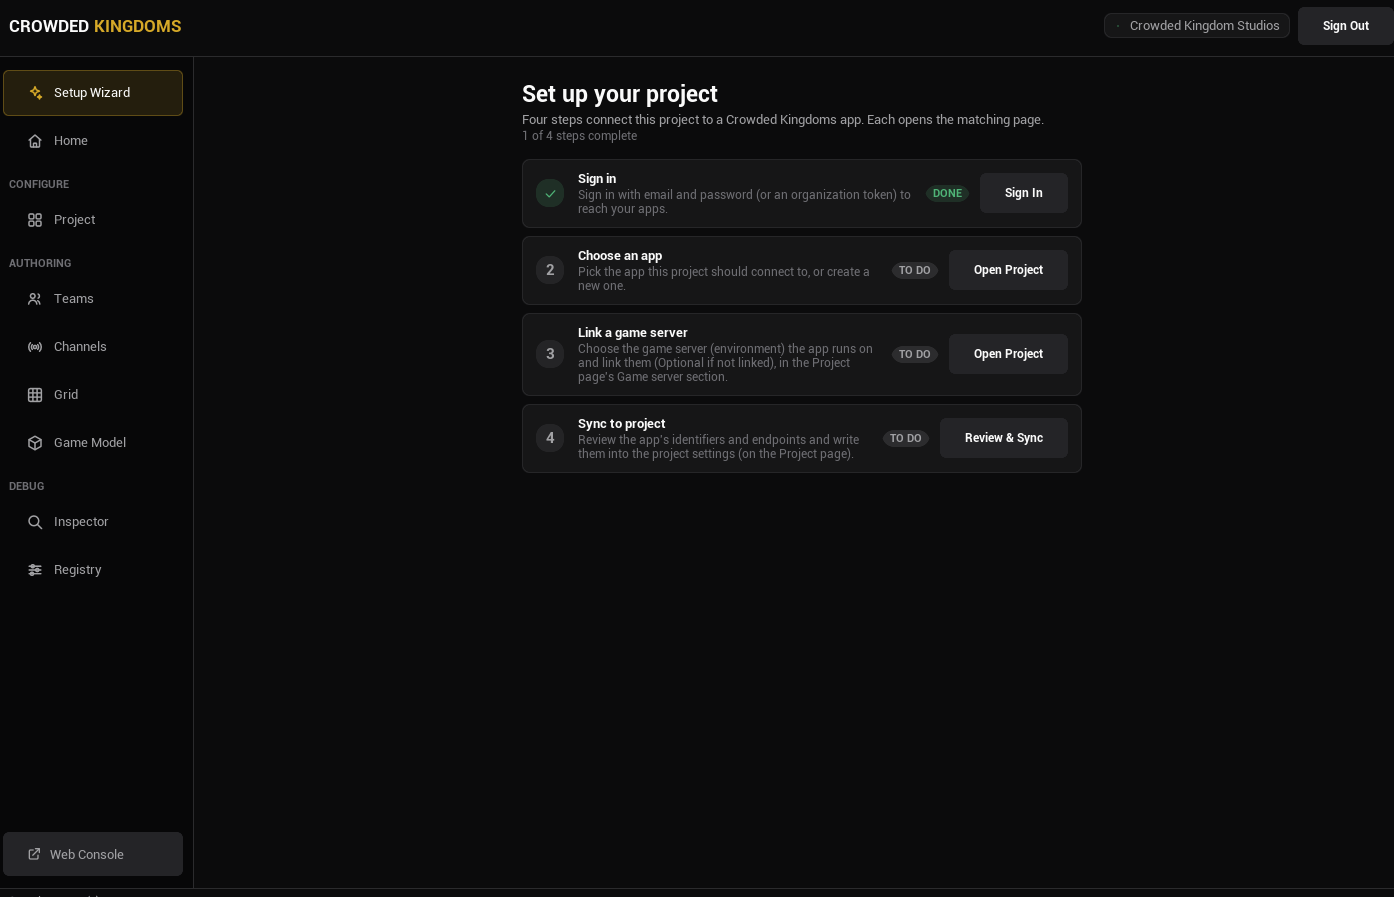
Setup Wizard
If you prefer a guided path, use the Setup Wizard page in Crowdy Studio.
It walks you through the same steps in order: sign in, pick an organization and app, choose a backend, and run Config Sync.
The wizard is a good first run. Once you know the flow, you can do each step directly on the Project page.
Verify the connection
After Config Sync, the project knows which app to talk to.
You can check the live state during play on the Inspector page in Crowdy Studio, which is read-only and shows entity state during Play in Editor.
Config Sync connects your project to a backend, but it does not make replication work on its own. Every playable map still needs a map profile. Without one, the entity subsystem, auto replicator, and actor manager do nothing on that map, and replication looks dead even though the connection is fine.
Next step
Set up a map profile so the SDK is active on your map.